


Nobi's Beginner Guide Videos For Tekken 7
 Wonkey ON
Just before Nobi Gaisen 2 Cup took place, Nobi recorded and created a set of introductory Beginner's guide videos for people looking to pick up Tekken 7. It covers the basics of Tekken 7 as well as recommend simple combos that new players should use as they play and learn the game. It covers all the characters available in the current Tekken 7 version out in arcades to play and makes for a neat little resource if you want a place to start when picking up a new character. All these videos come from the Nobi's Beginner Guide OPENREC.tv page and should be available for everyone to see. I can't embed these videos onto this site so I'll link each character's video below as well as transcribe some notes from the videos.
NOBI BEGINNER GUIDE ≫ https://www.openrec.tv/user/BV6_Pdx5NWvSW
▌Nobi's Beginner Guide - Basic Game System
 ̄  ̄  ̄  ̄  ̄  ̄  ̄  ̄  ̄  ̄  ̄  ̄  ̄  ̄  ̄  ̄  ̄  ̄  ̄  ̄  ̄  ̄  ̄  ̄  ̄  ̄  ̄  ̄
Video URL ≫ https://www.openrec.tv/movie/oeikk93j7J3
- This video is catered to the Japanese Tekken playing community so know that the English speaking Tekken community do not use the same notation system described in Nobi's video.
- If you are yourself absolutely new to this game, I recommend reading through AAK's beginner's guide beforehand to understand all the terminology used in the notes on this page. It's geared towards TTT2 but most info carry over to Tekken 7. You can read through it at our guides page.
- Avoiding The Puddle TTT2 Guides ≫ http://www.avoidingthepuddle.com/ttt2-guides/
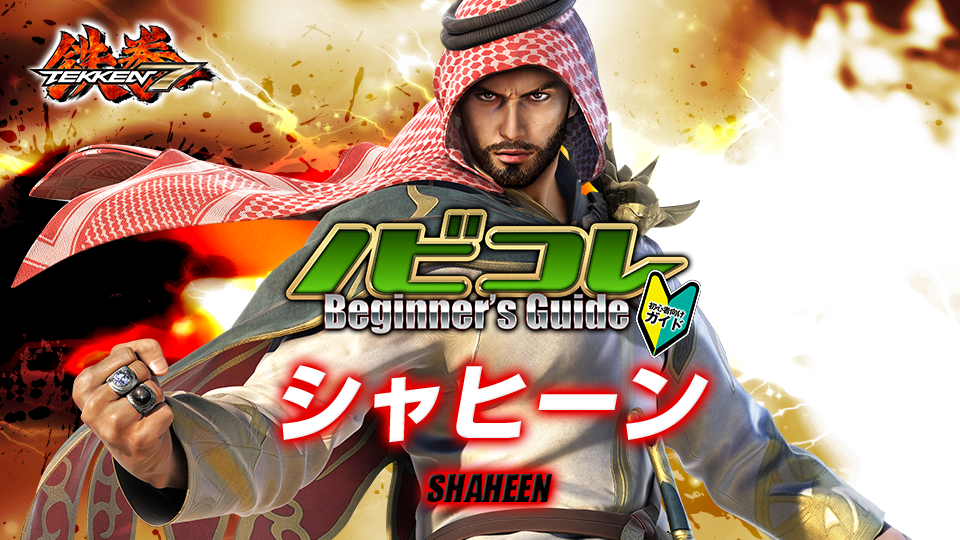
▌Nobi's Beginner Guide - Shaheen
 ̄  ̄  ̄  ̄  ̄  ̄  ̄  ̄  ̄  ̄  ̄  ̄  ̄  ̄  ̄  ̄  ̄  ̄  ̄  ̄  ̄  ̄  ̄  ̄  ̄  ̄  ̄  ̄
Video URL ≫ https://www.openrec.tv/movie/MsYKq79UMIN
- Shaheen combos are slightly difficult to make the best of for new players.
- However once you get the hang of performing his combos, his combo damage is pretty high.
- Beginner Combo recommendation - u/f+4, 4,1, 4,3 Screw! Run up d/b+2,1.
- Slightly harder combo - u/f+4, d+2, 4,1, 4,3, Screw! Run up f+3+4 into ws+3
- The last f+3+4 into ws+3 contributes to a big chunk of combo damage but is the hard part.
- After a f+3+4, hold d/f to go to Shaheen's Snake In stance. From there, quickly hold d/b to cancel into his crouch. Stand up from here and press 3 to do the ws+3.
- Practice the f+3+4 Snake In cancel to ws+3 in Training mode. If you're late and the opponent blocks the ws+3, you're fine. The extra combo damage is worth going for.
- For combos when your opponent hits the wall, d/f+1 into the b+4 kick is an easy wall combo.
- However you can once again take advantage of f+3+4~d/f, d/b into ws+3,3 to get most damage from the wall.
- Once you practice these combos and learn the character's movelist, you'll find that Shaheen is overall a strong character in Tekken 7.
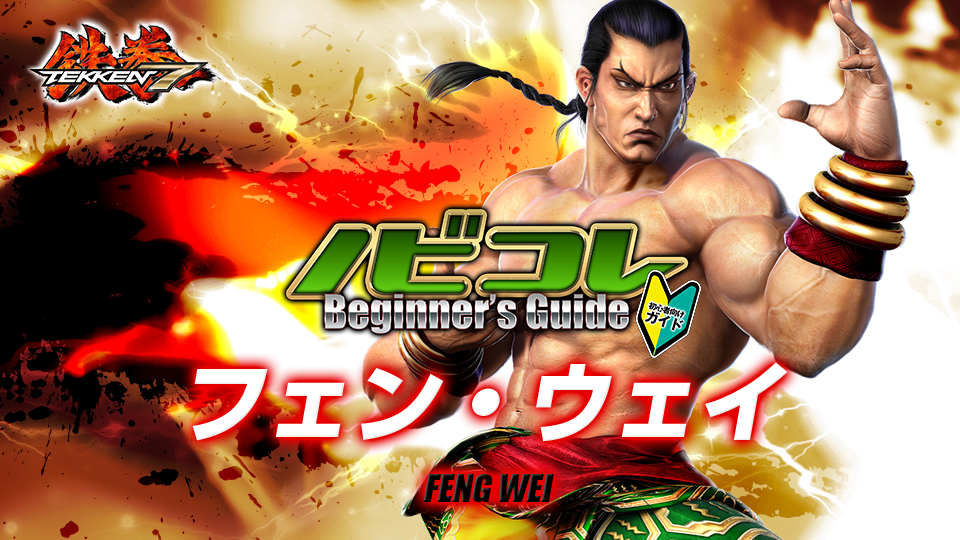
▌Nobi's Beginner Guide - Feng
 ̄  ̄  ̄  ̄  ̄  ̄  ̄  ̄  ̄  ̄  ̄  ̄  ̄  ̄  ̄  ̄  ̄  ̄  ̄  ̄  ̄  ̄  ̄  ̄  ̄  ̄  ̄  ̄
Video URL ≫ https://www.openrec.tv/movie/eLSYdGZg6d2
- Feng combos are pretty easy to perform.
- The recommended beginner combo for Feng is u/f+4, d/f+1, d/f+1 d/b+1,4 Screw! 3 ~ 4,4.
- Note the sliding input for the last 3~4,4 - just quickly tap the 4 after the 3.
- For a slightly more advanced technique, you can chose to replace the last 3~4,4 with f+3,4 instead. This gives you more a favorable position to attack the opponent on the ground.
- At the wall, you can use his f+2,1,2. This is a reliable move to use as a wall combo and is recommended for everyone.
- If you want to increase you damage at the wall, you can go for 1,3 into the b+1+2 shoulder. Increased damage but there are situations where it won't always connect.
▌Nobi's Beginner Guide - King
 ̄  ̄  ̄  ̄  ̄  ̄  ̄  ̄  ̄  ̄  ̄  ̄  ̄  ̄  ̄  ̄  ̄  ̄  ̄  ̄  ̄  ̄  ̄  ̄  ̄  ̄  ̄  ̄
Video URL ≫ https://www.openrec.tv/movie/pfwYWLmTrdZ
- King combos are easy to do and do good damage.
- Recommended beginner combo - u/f+4, d/f+4,3 d/f+2,1 Screw! wr+2+4.
- The final throw done after the Screw requires you to be in a running state to perform so dash in and push the 2+4. Pushing ff after the screw will assist you in the input.
- For added damage into the above combo, you can perform a standing 4 after the hopkick (u/f+4.) Note that after this part, you have to dash in (f,f) to connect the d/f+4,3.
- King's combos get a little more interesting at the wall. For the recommended easy move to use, you can use d/f+4,3,4.
- If you want to get a lot more damage at the wall, you can go for King's ground throws.
- These throws are for a grounded opponent so what you aim for at the wall is to attack the opponent with 1,2 jabs to quickly drop the opponent to the floor.
- From there you can use either d/b+1+3 or d/b+2+4. These throws can be broken by the opponent but it's a 50/50 with the reward of big wall combo damage.

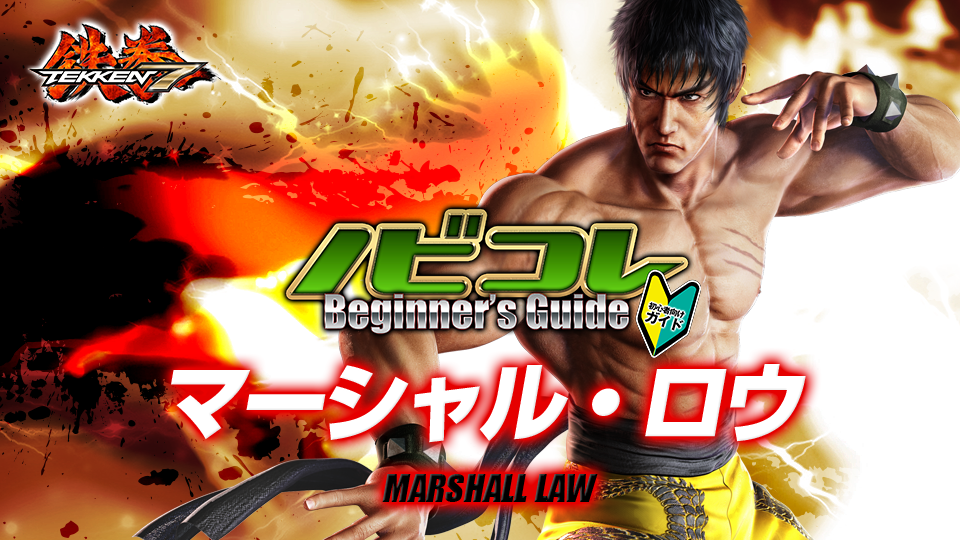
▌Nobi's Beginner Guide - Marshall Law
 ̄  ̄  ̄  ̄  ̄  ̄  ̄  ̄  ̄  ̄  ̄  ̄  ̄  ̄  ̄  ̄  ̄  ̄  ̄  ̄  ̄  ̄  ̄  ̄  ̄  ̄  ̄  ̄
Video URL ≫ https://www.openrec.tv/movie/My69LCvfD5j
- Marshall Law combos are slightly advanced and require training to perform.
- Beginner combo to use is d/f+2, b+2,3,4, b+2,1 Screw! ff+2,3.
- For more advanced and damaging combos from Law, you'll need to learn the Dragon Sign Stance (DSS) and Dragon Fake Step (DFS.)
- Law has certain moves that go into either DSS or DFS by quickly tapping back then forward after doing them.
- Most of his good combos use attacks from DSS so any move that go into DFS needs to transition into DSS by pushing forward again. (b,f ~ f)
- So the more advanced recommended combo to use is d/f+2, 4,u+3, b+2,1 Screw! 4,3 ~ b,f [DFS] f [DSS] f+4 finisher.
- This will take practice to get the hang of but the combo damage is much higher.
- For combos at the wall, Dragon Tail (d/b+4,4) is recommended to use for beginners.
- If you have mastered his DSS, you can get more damage at the wall by using 4,3 into his DSS f+3.
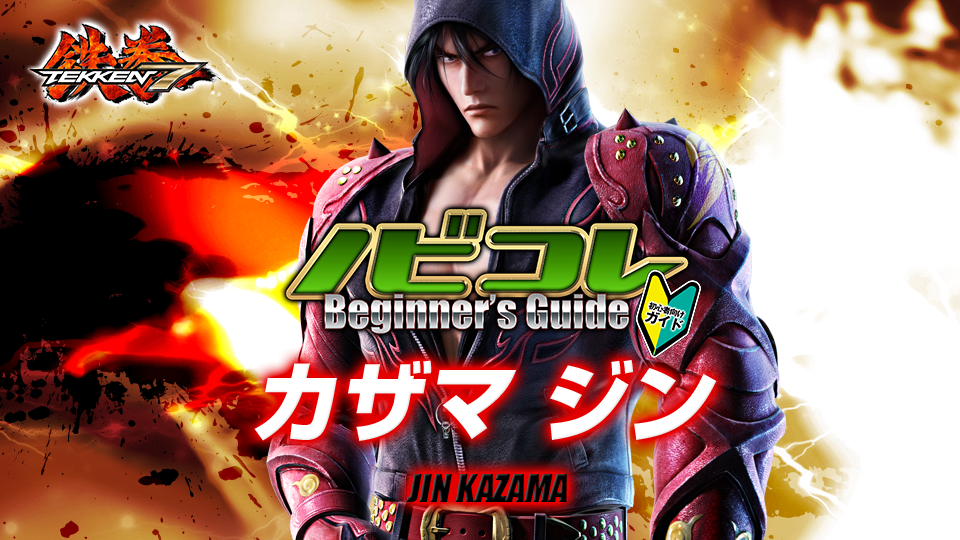
▌Nobi's Beginner Guide - Jin Kazama
 ̄  ̄  ̄  ̄  ̄  ̄  ̄  ̄  ̄  ̄  ̄  ̄  ̄  ̄  ̄  ̄  ̄  ̄  ̄  ̄  ̄  ̄  ̄  ̄  ̄  ̄  ̄  ̄
Video URL ≫ https://www.openrec.tv/movie/f9iwMGmo0co
- Jin Kazama has a mix of easy and difficult combos.
- For beginners, u/f+4 into 1,2,4 Screw! d/b+2,2,3 is recommended and really easy to do.
- For more advanced & damaging combos, you can utilize his b+3 move which goes into his Crouching Demon Stance (CDS) by holding forward right after it.
- Advanced combo recommendation - u/f+4, b+3, b+3~f CDS+1, 4 Screw! b+3~f CDS+1,2.
- For wall combos you can do 1,2,3 which will put the opponent on the ground then follow-up with a d+4.
- For a more damaging wall combo, you can also do a Jab (1) into his d/b+2,2,3.
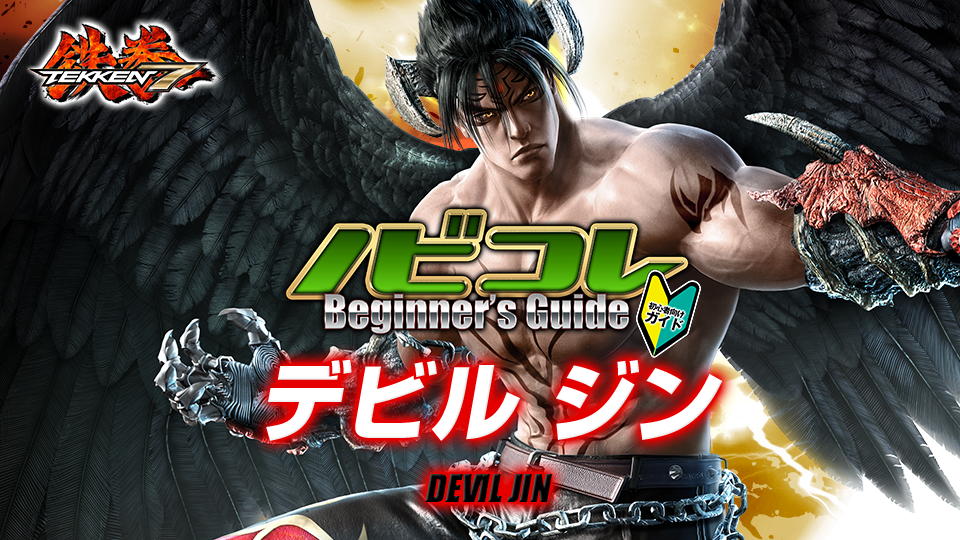
▌Nobi's Beginner Guide - Devil Jin
 ̄  ̄  ̄  ̄  ̄  ̄  ̄  ̄  ̄  ̄  ̄  ̄  ̄  ̄  ̄  ̄  ̄  ̄  ̄  ̄  ̄  ̄  ̄  ̄  ̄  ̄  ̄  ̄
Video URL ≫ https://www.openrec.tv/movie/JBJYoskG42w
- Devil Jin is a character with the Mishima fighting style so he is difficult to use.
- He does not have the standard normal hit launching hopkicks or d/f+2 uppercuts so you will have to learn his Wind God Fist. (pronounced 'Fujin Ken' in Japanese)
- To use it, a crouch dash has to first be performed with f,n,d,d/f. Press 2 after this motion to perform a standard Wind God Fist.
- If you input the Wind God Fist motion and 2 fast and precisely, you'll perform an Electric Wind God Fist which is a stronger version of the move.
- So for a new player, the recommended combo for Devil Jin is f,n,d,d/f+2, ff+4 Screw! d/f+3,2,4.
- For a more damaging and advanced combo, you can do EWGF, EWGF, ff+4 Screw! ff+3,1~ff 2, f+3+4.
- As mentioned, unlocking most of Devil Jin's high combo damage is really difficult so always consider going for easier combos.
- Recommended beginner wall combo is 1,2 into his b+4. Easy and reliable.
- For greater damage at the wall, you can use b,f+2,1,2. Delay the last 2 attack slightly to hit the opponent while they're on the ground rather then on the wall.
- This grounded last hit does more damage then done immediately on a opponent stuck to the wall.
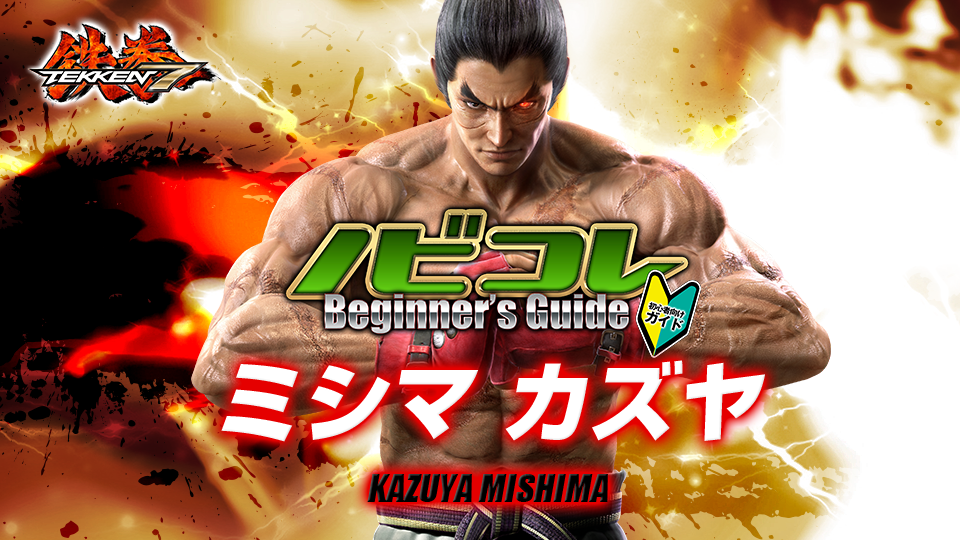
▌Nobi's Beginner Guide - Kazuya Mishima
 ̄  ̄  ̄  ̄  ̄  ̄  ̄  ̄  ̄  ̄  ̄  ̄  ̄  ̄  ̄  ̄  ̄  ̄  ̄  ̄  ̄  ̄  ̄  ̄  ̄  ̄  ̄  ̄
Video URL ≫ https://www.openrec.tv/movie/3gH4ANGlO7i
- As mentioned in the Devil Jin video, Mishima fighting style characters are difficult to use with no standard hopkicks or d/f+2. You'll have to learn the Wind God Fist.
- Beginner combo - f,n,d,d/f+2, d/f+1,4 Screw! 1,2,4,3.
- Note that the 1,2 bit in the last hit are supposed to miss the opponent.
- More advanced combo - EWGF, EWGF, d/f+1,4 Screw! f,n,d,d/f+4,1 (hellsweep)
- Like Devil Jin, a recommended wall combo is the 1,2 jabs into his b+4 kick.
- A more damaging wall combo is his f+4 into the b+4. Note that this won't always connect though.
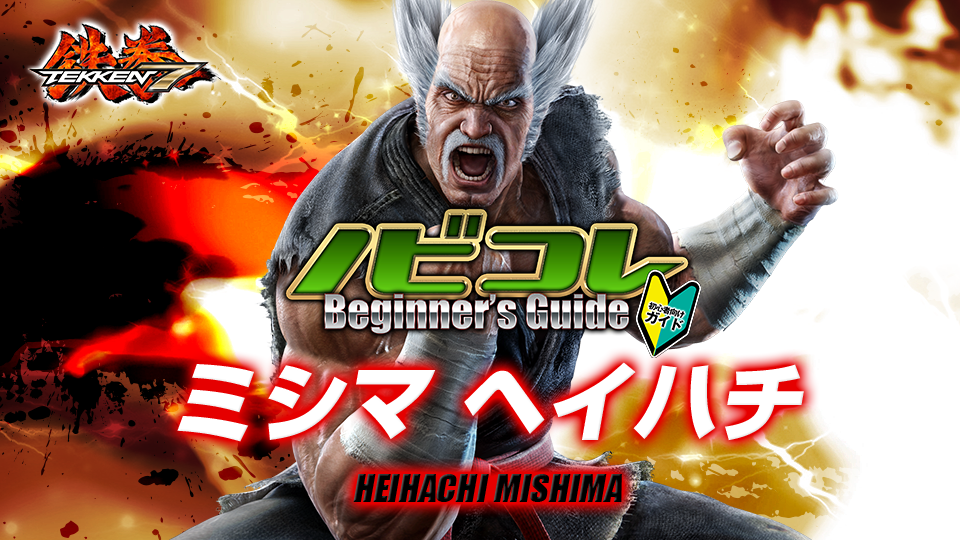
▌Nobi's Beginner Guide - Heihachi Mishima
 ̄  ̄  ̄  ̄  ̄  ̄  ̄  ̄  ̄  ̄  ̄  ̄  ̄  ̄  ̄  ̄  ̄  ̄  ̄  ̄  ̄  ̄  ̄  ̄  ̄  ̄  ̄  ̄
Video URL ≫ https://www.openrec.tv/movie/aUhtB9wQcqs
- Like Devil Jin & Kazuya, Heihachi uses the Mishima fighting style and is a hard character to use. Learn the wind god fist and Crouch Dash (f,n,d,d/f) *Read above Devil Jin / Kazuya section.*
- Beginner combo - f,n,d,d/f+2, b+1,2 Screw! Dash in d/f+1,2.
- Advanced combo - f,n,d,d/f+2, b+1,2 Screw! cd+4,4,1.
- Heihachi's cd+4 attacks has different continuations depending on if you tapped 4,4 fast or delayed it a bit and did cd+4,n,4. You'll want the version with the 1 finisher so input the Hellsweeps fast without the neutral.
- Wall combo - d/f+1,2. Easy and does damage.
- Advanced wall combo - cd+4,4,4,n,4.
- You'll want each hit of the hellsweep as well as the neutral 4 kick ender for a much damaging wall combo ender.
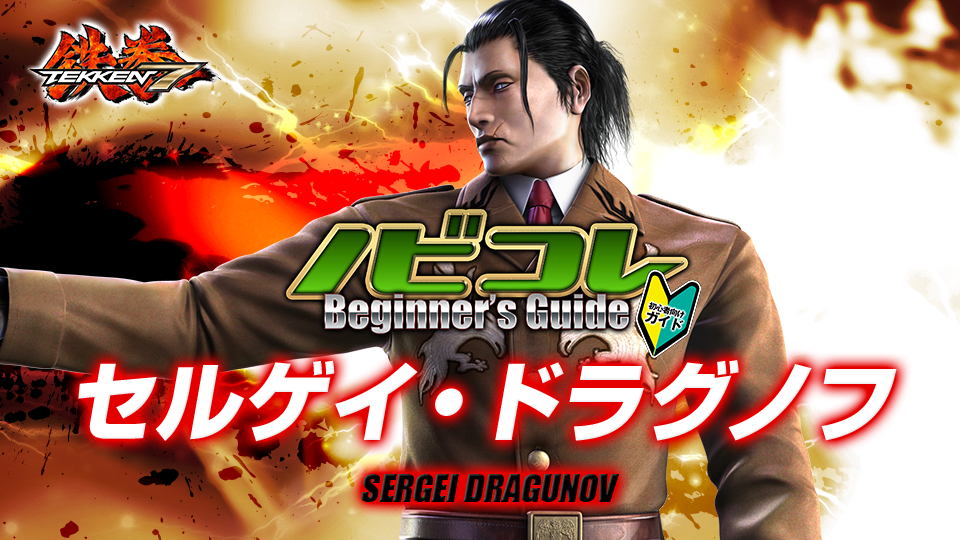
▌Nobi's Beginner Guide - Sergei Dragunov
 ̄  ̄  ̄  ̄  ̄  ̄  ̄  ̄  ̄  ̄  ̄  ̄  ̄  ̄  ̄  ̄  ̄  ̄  ̄  ̄  ̄  ̄  ̄  ̄  ̄  ̄  ̄  ̄
Video URL ≫ https://www.openrec.tv/movie/l0I8vA08vJD
- Onto Nobi's main character, Dragunov has really simple combos with his standard d/f+2 launcher.
- The beginner combo is d/f+2, 4,4 Screw! 3,1,2. Really easy and doesn't require much lever movement.
- A more damaging combo to use is d/f+2, f+4,4,3 b+4,3 Screw! 3,1,2. You need to dash into the opponent to connect the last 3,1,2.
- Recommendation for beginner wall combo is 3,1,2 again. This is a reliable move to use here as it will also hit opponents that are on the wall at different angles.
- For a more damaging wall combo, you can use Dragunov's b+2 into his ws+1+2 shoulder. The b+2 will automatically put you into crouch.
- Find out which and when to use either 3,1,2 and b+2, ws+1+2 at the wall. Overall Dragunov's wall combo damage is average.
▌Nobi's Beginner Guide - Paul Phoenix
 ̄  ̄  ̄  ̄  ̄  ̄  ̄  ̄  ̄  ̄  ̄  ̄  ̄  ̄  ̄  ̄  ̄  ̄  ̄  ̄  ̄  ̄  ̄  ̄  ̄  ̄  ̄  ̄
Video URL ≫ https://www.openrec.tv/movie/EwqtDS-NRj7
- Performing Paul combos are really fun and exciting. He has both a u/f+4 hopkick and d/f+2 uppercut launcher.
- For standard beginner combo which does high damage - u/f+4, 3,2 b+1,2 Screw! qcf+2 (DeathFist / "Ponken")
- The last deathfist motion (Quarter Circle Forward) is performed like the Hadouken motion in Street Fighter.
- The more advanced combo is - u/f+4, qcf+1, 1, b+1,2 Screw! dash in d+4,1,1+2.
- The last d+4,1,1+2 (Demolition Man) requires strict timing of the inputs so this will take practice to get down. It however will make for more damaging Paul combos so it's recommended to learn it and go for it.
- The recommended wall combo is his 3,2 into the d+1+2 (Shoulder).

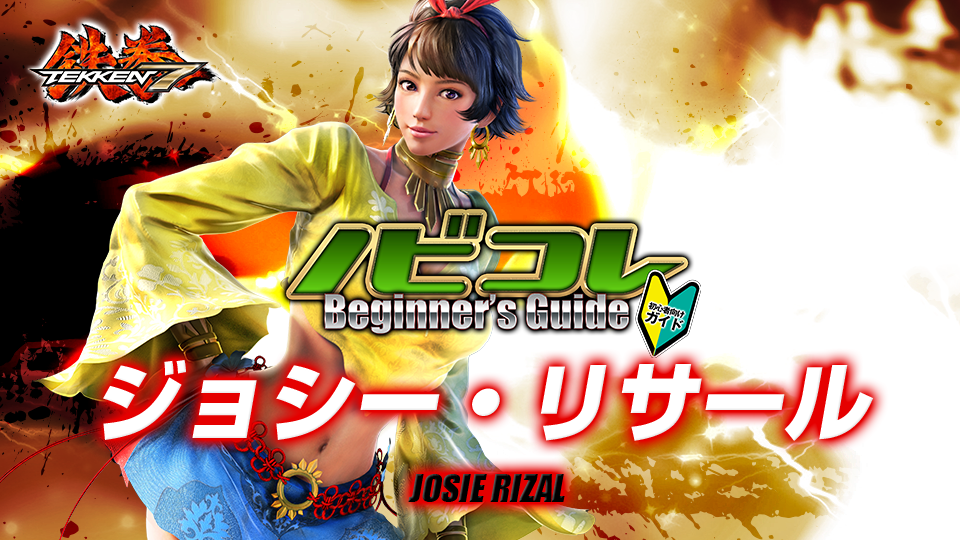
▌Nobi's Beginner Guide - Josie Rizal
 ̄  ̄  ̄  ̄  ̄  ̄  ̄  ̄  ̄  ̄  ̄  ̄  ̄  ̄  ̄  ̄  ̄  ̄  ̄  ̄  ̄  ̄  ̄  ̄  ̄  ̄  ̄  ̄
Video URL ≫ https://www.openrec.tv/movie/JZ4jdU6PfwT
- Josie Rizal has your standard hopkick and d/f+2 launchers.
- Beginner combo - u/f+4, 3,3 Screw! b+4,3,4. Really simple and easy to do.
- Advanced combo - u/f+4, f+1+2, 4, f+2,3,4 Screw! f+2,3,4. It's not too difficult to do this combo either but note the timing of the f+1+2.
- For the wall combo - 1,2 jabs into u/f+3+4 (Double knees) is the simple 'go to' combo.
- The advanced wall combo is - f+2,4~ Switch Stance 4.
- After the f+2,4 on hit, Josie will automatically go into her Switch stance so just push 4. Once you've got this down, you'll be able to get more damage with Josie at the wall.
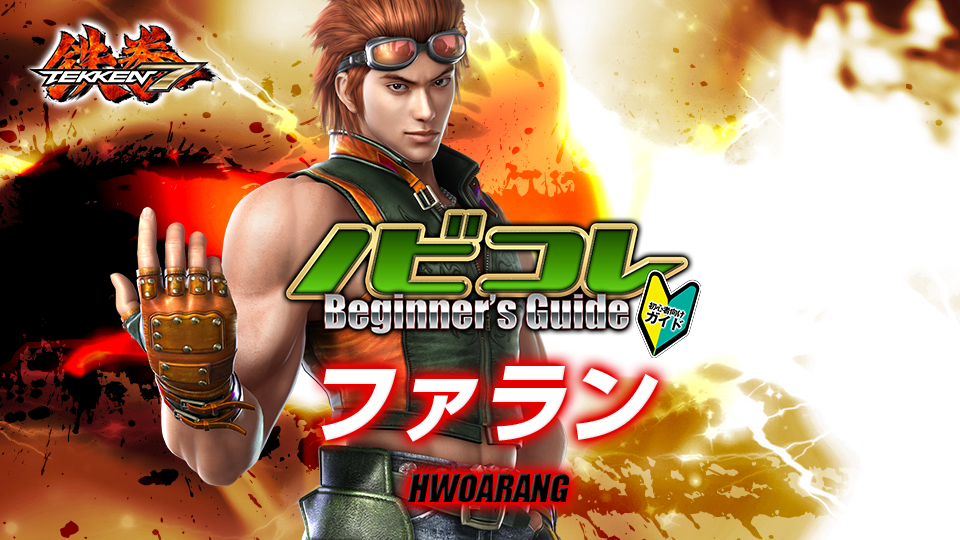
▌Nobi's Beginner Guide - Hwoarang
 ̄  ̄  ̄  ̄  ̄  ̄  ̄  ̄  ̄  ̄  ̄  ̄  ̄  ̄  ̄  ̄  ̄  ̄  ̄  ̄  ̄  ̄  ̄  ̄  ̄  ̄  ̄  ̄
Video URL ≫ https://www.openrec.tv/movie/BC6HsPz2Fmo
- Hwoarang has combos that might be a bit strange at first and are hard. But the combo damage is good once you learnt to do them.
- Beginner combo - d/f+2, d+3,4, b+4 Screw! u/f+3,4,3. Easy combo.
- Now for the harder part, the advanced combo is - d/f+2, ff+4, RFF 3,4 RFS b+4 Screw! [3+4] RFF f+3, u/f+3,4,3.
- The ff+4 (Peacekeeper) after the d/f+2 is strict so get the timing down and do it fast. After this move Hwoarang will go into his Right Foot Forward stance.
- From there, input RFF 3,4 which will put you into Right Flamingo Stance for the next b+4 Screw attack.
- Lastly, Hwoarang will go back into Left Foot Forward after the screw so you need to dash into the opponent and switch to RFF with 3+4. From there, you can do the RFF f+3 into the u/f+3,4,3 finisher.
- For the wall combo - d/f+1, d+1, ws+4,4 RFF 3 is easy and recommended.
- More damaging wall combo - [3+4] RFF f+3, 1, ws+4,4 RFF 3. Note the ws+4,4 part as you need to quickly crouch to perform it. Once you get this down you'll find that Hwoarang has high combo damage.
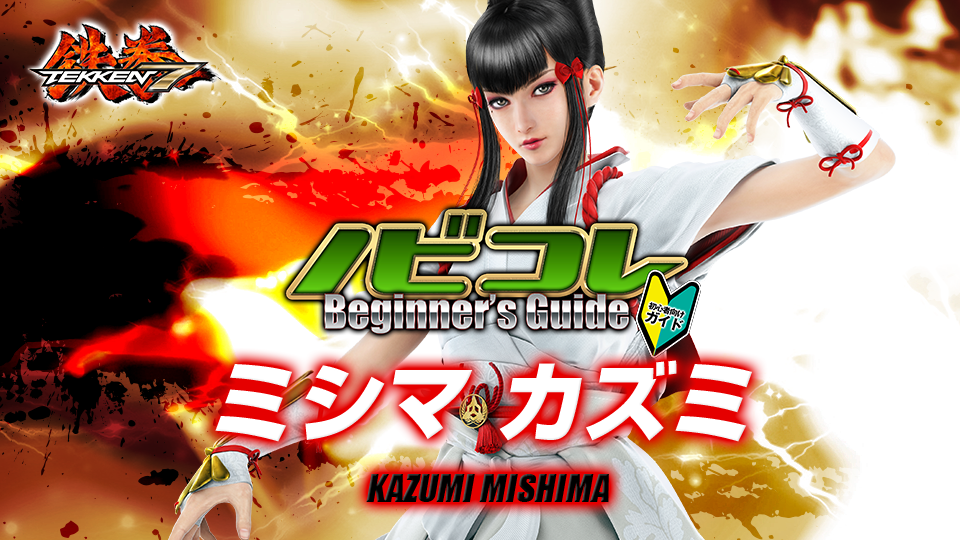
▌Nobi's Beginner Guide - Kazumi Mishima
 ̄  ̄  ̄  ̄  ̄  ̄  ̄  ̄  ̄  ̄  ̄  ̄  ̄  ̄  ̄  ̄  ̄  ̄  ̄  ̄  ̄  ̄  ̄  ̄  ̄  ̄  ̄  ̄
Video URL ≫ https://www.openrec.tv/movie/Ov8KGPxsB9k
- Kazumi Mishima is a new character to Tekken 7 and she doesn't play like a regular Mishima. Her combos are actually easy with simple inputs.
- Beginner combo - u/f+4, d/f+1, d/f+1, b+2 Screw! d/f+1,2. Easy, no brainer.
- More advanced combo - u/f+4 f+3~f FLY 2, bf+2,1,4 Screw! bf+2,1,1+2.
- With that last combo, if your opponent lands at the wall, you can add a chunk of damage to your combo by running at them and pressing 2 (wr+2).
- Wall combo - d/f+1,2. Easy and reliable making it a recommendation.
- Otherwise, you can go for the bf+2,1,1+2 which does more damage. Note that the 1+2 at the end summons a tiger and if that tiger hits the opponent you'll get extra damage.
- Overall, Kazumi is an easy character with good combo damage.
▌Nobi's Beginner Guide - Alisa Bosconovitch
 ̄  ̄  ̄  ̄  ̄  ̄  ̄  ̄  ̄  ̄  ̄  ̄  ̄  ̄  ̄  ̄  ̄  ̄  ̄  ̄  ̄  ̄  ̄  ̄  ̄  ̄  ̄  ̄
Video URL ≫ https://www.openrec.tv/movie/hV28gCPHj4R
- For Alisa, she has the standard d/f+2 uppercut launch. Her screw attack is a simple 4 input.
- Beginner combo - d/f+2, 4 Screw! BOOT 1,2,1,4. You go into her boot stance with f+3+4.
- Advanced combo - d/f+2 d/f+1,1 f+2 d+4,1+2 Screw! d+3 Dual Boot 1. The d+3 will automatically put you in the right stance for the finishing 1.
- Wall combo - 1,2 jabs into her 1+2 thrust. Simple 'go to.'
- Advanced wall combo - ff+4,3,4~1+2. The main bit of note for this move is that it leaves you in an advantageous position for her Chainsaw (Destroy form) stance while the opponent is on the ground.

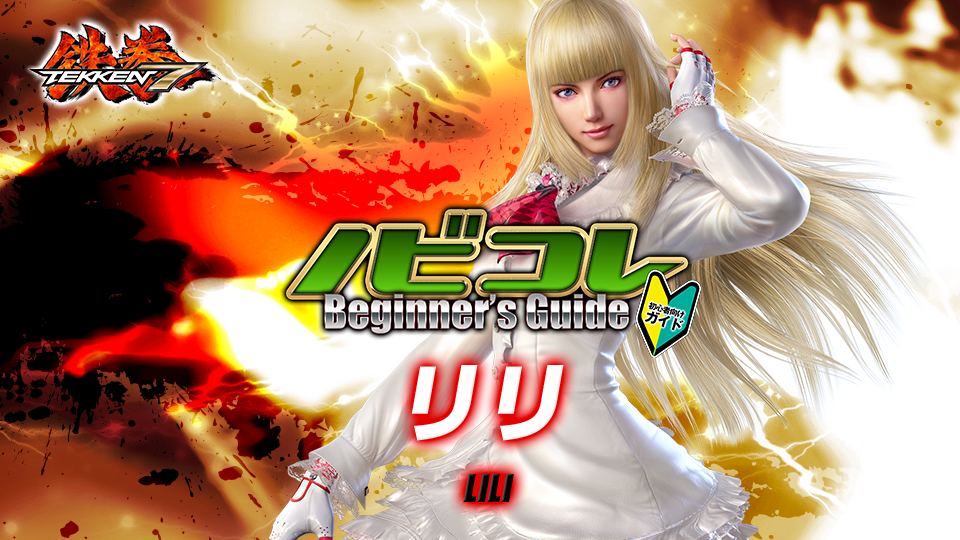
▌Nobi's Beginner Guide - Lili Rochefort
 ̄  ̄  ̄  ̄  ̄  ̄  ̄  ̄  ̄  ̄  ̄  ̄  ̄  ̄  ̄  ̄  ̄  ̄  ̄  ̄  ̄  ̄  ̄  ̄  ̄  ̄  ̄  ̄
Video URL ≫ https://www.openrec.tv/movie/e3iojrnYHha
- Lili has a d/f+2 launch and hopkick through u/f+3.
- Beginner combo - d/f+2, 1,2, d+2,2,3 Screw! ff+3~f 1,2. This combo in particular sends the opponent flying a great distance.
- Advanced combo - d/f+2 f+2,3, ff+3~f 3+4 Screw! d/f+3+4, 3+4. After the last d/f+3+4, 3+4, Lili will end up back turned with the opponent on the ground so you can add in another backturned d+3 hit.
- Wall combo - d/f+3+4, 3+4. This will leave Lili Back Turned with the opponent on the ground.
- This is a great mixup position for Lili with her BT 2 (mid), BT d+3+4 (low.) or BT d+3,4
- If you hit the back turned 2, you get another wall combo. You can then do another d/f+3+4, 3+4.
- Additionally, if you do not want to go for mix-ups, you can also choose to do f+3+4,3 which does a bit of damage at the wall.
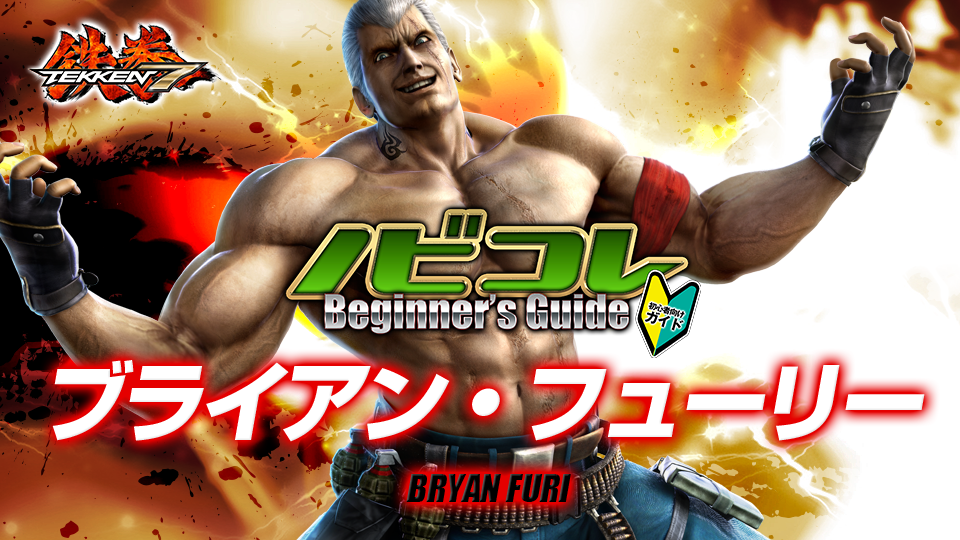
▌Nobi's Beginner Guide - Bryan Fury
 ̄  ̄  ̄  ̄  ̄  ̄  ̄  ̄  ̄  ̄  ̄  ̄  ̄  ̄  ̄  ̄  ̄  ̄  ̄  ̄  ̄  ̄  ̄  ̄  ̄  ̄  ̄  ̄
Video URL ≫ https://www.openrec.tv/movie/Ov86atfsByc
- With Bryan, his standard launcher is his u/f+4 (Orbital Heel.)
- Beginner combo - u/f+4, d/b+2, 1,2,4 Screw! b+3~f 2,1. The last b+3~f input will put you into a crouch dash for the 2,1 finish.
- A more damaging version of this combo is u/f+4, d/b+2, 1, ff+4 Screw! b+3~f 2,1. The Jab into the ff+4 can be difficult to do so take note.
- Wall combo - d+3,2. A good wall combo finisher that's easy and recommended.
- Wall combo #2 - 3,2,1,2. This requires no lever movement and is simple button presses. Does a grip of damage at the wall but there are some cases where it won't always hit.
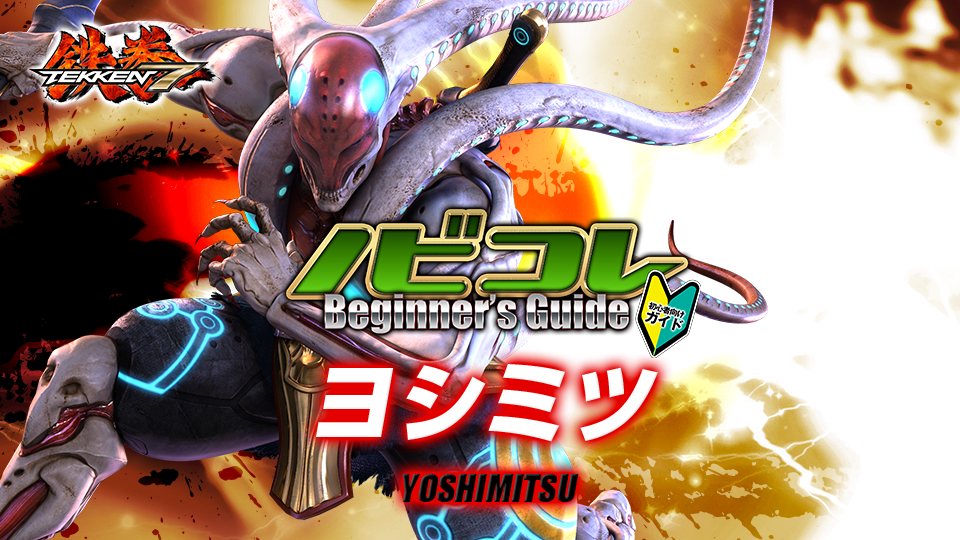
▌Nobi's Beginner Guide - Yoshimitsu
 ̄  ̄  ̄  ̄  ̄  ̄  ̄  ̄  ̄  ̄  ̄  ̄  ̄  ̄  ̄  ̄  ̄  ̄  ̄  ̄  ̄  ̄  ̄  ̄  ̄  ̄  ̄  ̄
Video URL ≫ https://www.openrec.tv/movie/r2OcYxOw99L
- Yoshimitsu combo guide, he has a standard d/f+2 launcher.
- Beginner combo - d/f+2, d+2,1 Screw! b+2,1. A small dash is needed after the screw attack for the b+2,1 to connect.
- Advanced combo - d/f+2, f+3 Screw! dash in d/f+1, standing 2 jab, b+2,1~f KIN f+2.
- Pushing forward after the b+2,1 will put Yoshimitsu in his Kinchou stance allowing the f+2 finisher.
- Wall combo - d/b+3,3,3,3,3,3. Make Yoshimitsu spin until he can't anymore. (six times)
- Advanced wall combo - b+2,1.
- Like the Devil Jin bf+2,1,2 wall combo, you'll want to delay Yoshimitsu's 2nd hit of b+2,1 to get added damage as a grounded hit attack. It'll take some time to get the timing but it adds extra damage to your combo.
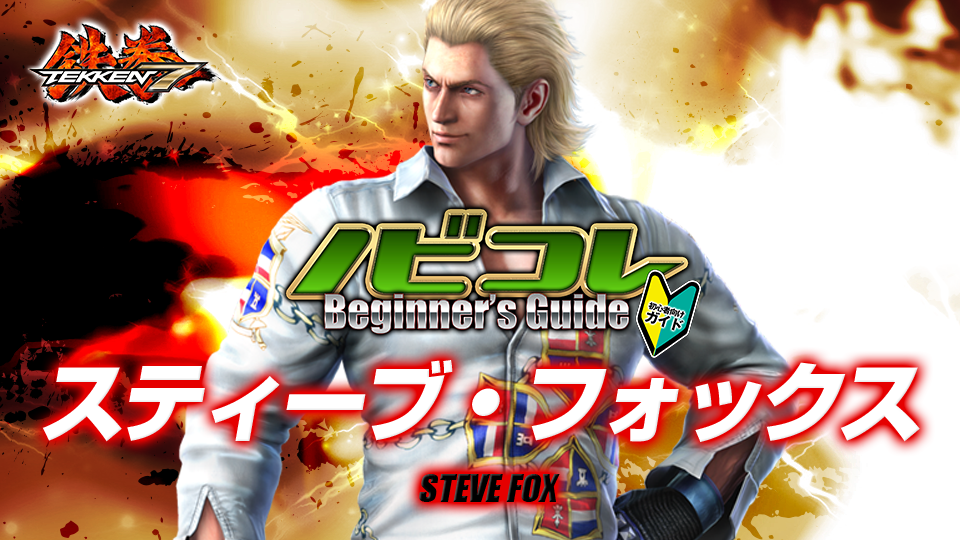
▌Nobi's Beginner Guide - Steve Fox
 ̄  ̄  ̄  ̄  ̄  ̄  ̄  ̄  ̄  ̄  ̄  ̄  ̄  ̄  ̄  ̄  ̄  ̄  ̄  ̄  ̄  ̄  ̄  ̄  ̄  ̄  ̄  ̄
Video URL ≫ https://www.openrec.tv/movie/wbiw-cnOJ3g
- Steve Fox is a Boxing character with his standard launcher being u/f+2.
- Beginner combo - u/f+2, d/f+1,2~1~b FLK 1,d+1 Screw! d/f+1+2. Not an easy combo to perform at first.
- Steve has a d/f+1,2 but you want to quickly input another 1 after it to get the more damaging version of it. You also need to hold back after the move to transition into Steve's Flicker stance.
- Advanced combo - u/f+2, d/f+1,2~1~f+3 DCK f+2 Screw! DCK, DCK 1, d/f+1+2.
- Steve can go into his Ducking stance via f+3 and this can be done after his d/f+1,2~1 and DCK f+2. After the screw, you have to input f+3, f+3 to get a double ducking motion. This allows an enhanced version of DCK 1 with blue sparks to come out.
- Wall combo - f+2,1, d/f+1+2 (Sonic Fang.) Simple and easy at the wall.
- Advance wall combo - f+2,1~f+3 DCK 1+2,1,2,1,2,1,2,1,2,1. Mash out those 1,2 punches!
- Steve's combos are hard to do but once you get the hang of doing them, he's a fun character with the coolest looking combos.
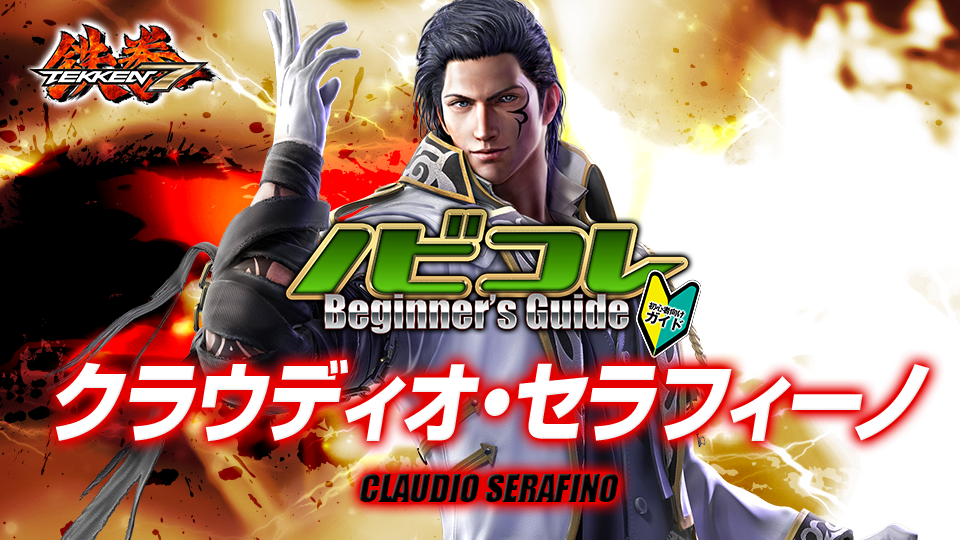
▌Nobi's Beginner Guide - Claudio Serafino
 ̄  ̄  ̄  ̄  ̄  ̄  ̄  ̄  ̄  ̄  ̄  ̄  ̄  ̄  ̄  ̄  ̄  ̄  ̄  ̄  ̄  ̄  ̄  ̄  ̄  ̄  ̄  ̄
Video URL ≫ https://www.openrec.tv/movie/fKhUuUmSd4v
- Claudio is a new character to Tekken 7 and Nobi thinks he is really cool as an exorcist.
- His standard launcher is u/f+4 and the animation of it is really fast.
- Beginner combo - u/f+4, f+3 Screw! wr+2. Dashing after the screw and holding forward will put Claudio in a running state. After that, press 2 to do the finisher.
- Advanced combo - u/f+4, ff+4, b+3, 2, f+3 Screw! wr+2. The inputs to the combo aren't hard but the timing of each hit is something to practice on.
- Wall combo - 1,2, d+1+2 (shoulder.) Easy wall damage.
- Wall combo #2 - d/f+3,2, d+1+2. Does slightly more damage at the wall.
- Overall Claudio's combo damage is average but he's a good character for beginners.
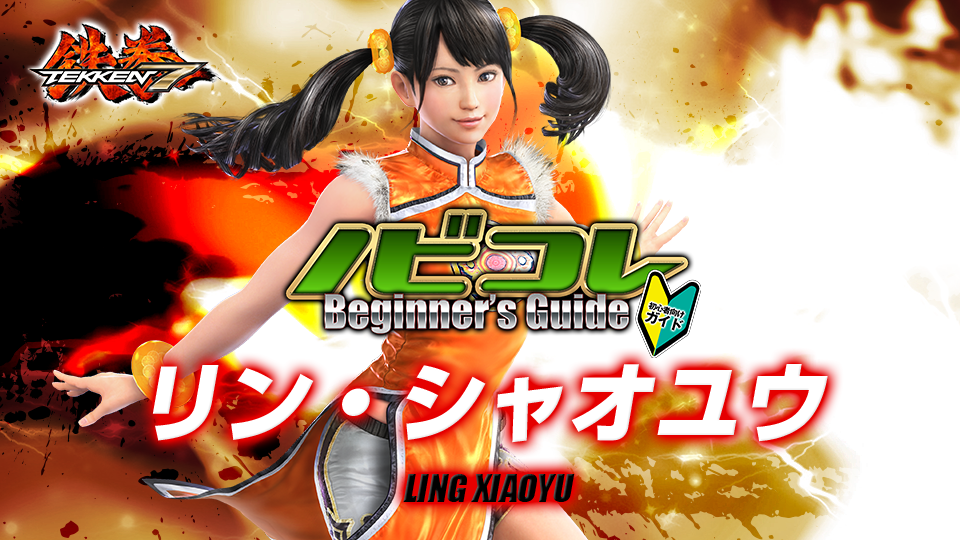
▌Nobi's Beginner Guide - Ling Xiaoyu
 ̄  ̄  ̄  ̄  ̄  ̄  ̄  ̄  ̄  ̄  ̄  ̄  ̄  ̄  ̄  ̄  ̄  ̄  ̄  ̄  ̄  ̄  ̄  ̄  ̄  ̄  ̄  ̄
Video URL ≫ https://www.openrec.tv/movie/r2OcYxmw9sW
- Ling Xiaoyu's standard launchers are u/f+3 and d/f+2~1.
- Beginner combo - d/f+2~1, f+2,1,4 Screw! ff+1+2, 1+2 (X Marks the Spot)
- Advanced combo - d/f+2~1 f+3,1 BT 1,4 Screw! dash in u/f+4, ff+3.
- The f+3,1 will leave Xiaoyu back turned for the 1,4 Screw attack. From there, you have to dash in and hit the opponent with a u/f+4. After the u/f+4 hits, input the ff+3 fast to get added damage. This combo requires some practice to execute.
- You're opponent can block the last ff+3 if you do it to slow so this requires some practice to execute. However the damage gained from it is high so it's recommended to go for it.
- Wall combo - 1 jab into d/b+1. Chunk of reliable damage at the wall.
- Wall combo #2 - d+1, ws+4. Strong combo damage at the wall since the ws+4 hits the opponent grounded.
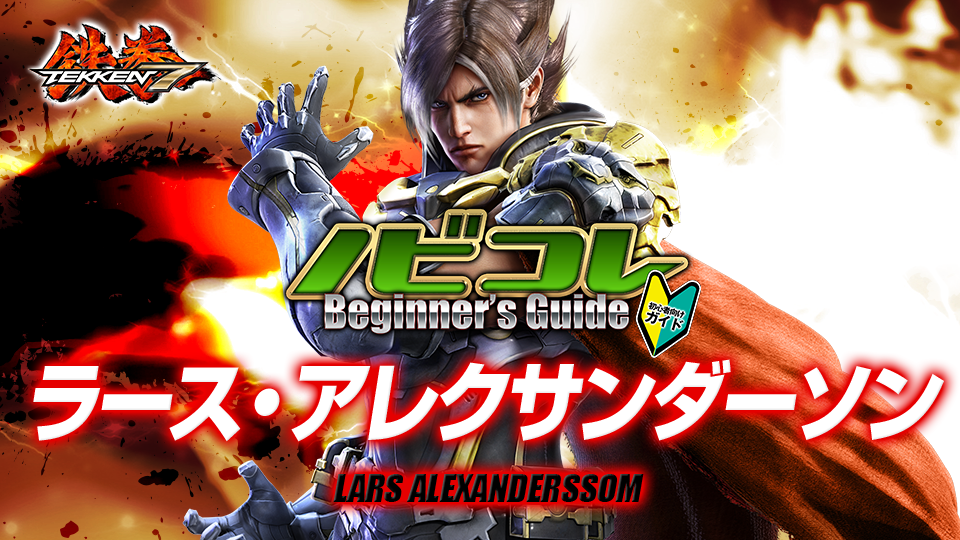
▌Nobi's Beginner Guide - Lars Alexandersson
 ̄  ̄  ̄  ̄  ̄  ̄  ̄  ̄  ̄  ̄  ̄  ̄  ̄  ̄  ̄  ̄  ̄  ̄  ̄  ̄  ̄  ̄  ̄  ̄  ̄  ̄  ̄  ̄
Video URL ≫ https://www.openrec.tv/movie/oeiVFcDj7oG
- Lars u/f+4 is like a slow floaty hopkick.
- Beginner combo - u/f+4, d/b+2,1 d/f+2,1 Screw! (f+3) DE 1~f SE 1.
- Pushing f+3 will make Lars go forward and into the Dynamic Entry stance. From here, pushing 1 and then holding forward will put him into the Silent Entry stance. SE 1 is the finisher.
- Advanced combo - u/f+4, d/f+1, f+1,2,3~f DE 1+2 Screw! b+3~f SE 1. Stronger combo damage with the inputs being rather simple to execute. Recommended combo and covers a lot of distance.
- Wall combo - f+4,1,2,1. Easy input and it all strings together at the wall.
- Advanced wall combo - d/f+1, d/b+2,1, f+1+4 (shoulder). Rather simple but make sure that you push both the 1 and 4 in f+1+4 to get the shoulder to come out. This contributes a lot to Lars' wall combo damage output.
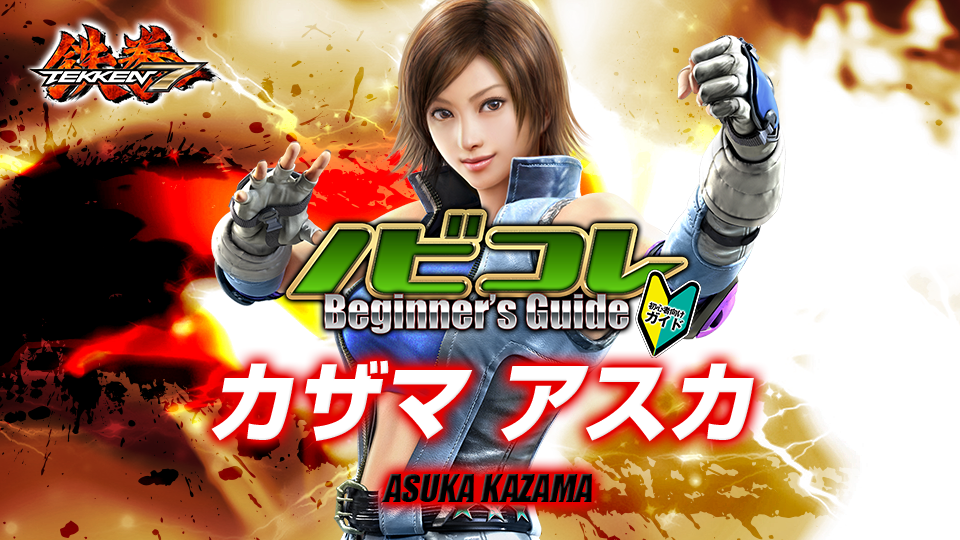
▌Nobi's Beginner Guide - Asuka Kazama
 ̄  ̄  ̄  ̄  ̄  ̄  ̄  ̄  ̄  ̄  ̄  ̄  ̄  ̄  ̄  ̄  ̄  ̄  ̄  ̄  ̄  ̄  ̄  ̄  ̄  ̄  ̄  ̄
Video URL ≫ https://www.openrec.tv/movie/r0WZOIZfqtG
- Asuka's standard launcher is her d/f+2.
- Beginner combo - d/f+2, f+4 Screw! ff+2,1. For absolute new players picking up Asuka this combo is recommended.
- Advanced combo - d/f+2, f+4 Screw! wr+3 (Slash kick), 1+4, f+1+2. More damaging but a lot more harder to execute.
- To get the Slash kick after the screw, you have to dash at the opponent in a running state and input the Running 3 fast. Do it a bit to slow and it'll miss the opponent.
- Wall combo - b+4,2,3. Easy chunk of reliable wall damage.
- Wall combo #2 -1+4,2,d+4. A little bit more damaging then the last combo but doesn't always connect.
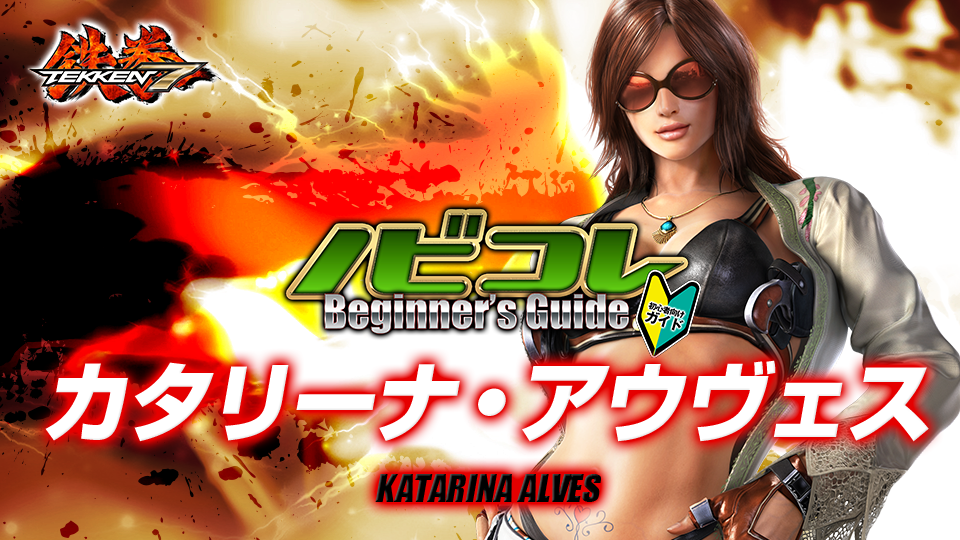
▌Nobi's Beginner Guide - Katarina Alves
 ̄  ̄  ̄  ̄  ̄  ̄  ̄  ̄  ̄  ̄  ̄  ̄  ̄  ̄  ̄  ̄  ̄  ̄  ̄  ̄  ̄  ̄  ̄  ̄  ̄  ̄  ̄  ̄
Video URL ≫ https://www.openrec.tv/movie/Vd0g2wMSZjq
- Katarina combos are really easy and some are even designed just for repeated multiple button presses.
- Her u/f+4 hopkick will go into an auto combo by just repeating the 4 button after it and makes for a beginner combo. (u/f+4,4,4,4,4)
- If you're looking for a more typical Tekken combo - u/f+4,4, ff+4 Screw! b+1, b+1, b+1~f HAR 4 is also recommended.
- Multiple b+1 make the combo easy to perform but generally combos will have 3 of them with the last one going into her Harrier stance by holding forward after b+1 and pushing a 4 for the HAR 4.
- Wall combo - d/f+1, u/b+4. Chunk of damage and leaves you in a good position for follow up attacks.
- For a more damaging wall combo - d/f+1,1~f HAR 4. Just like the b+1~f moves, d/f+1,1 works suitable at the wall.
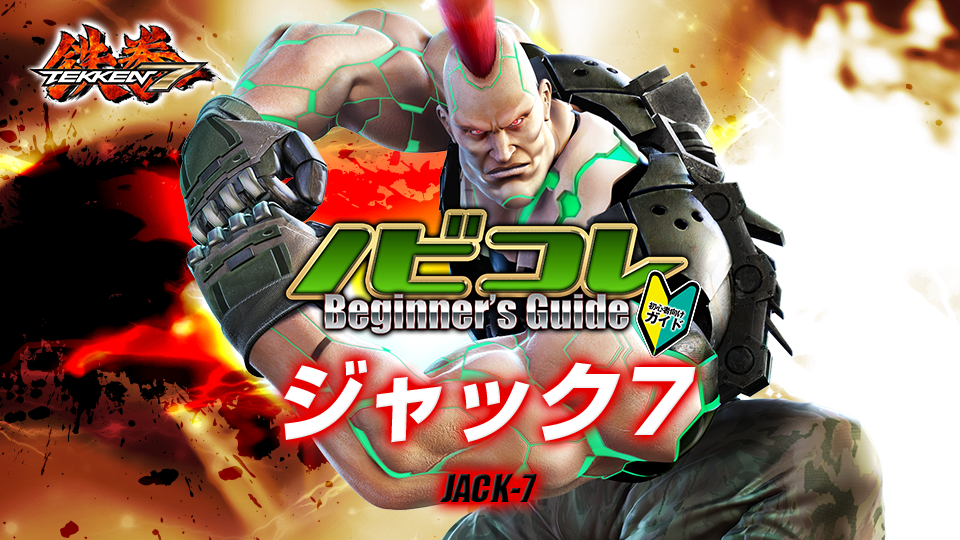
▌Nobi's Beginner Guide - JACK-7
 ̄  ̄  ̄  ̄  ̄  ̄  ̄  ̄  ̄  ̄  ̄  ̄  ̄  ̄  ̄  ̄  ̄  ̄  ̄  ̄  ̄  ̄  ̄  ̄  ̄  ̄  ̄  ̄
Video URL ≫ https://www.openrec.tv/movie/PtH68iBpNGI
- JACK-7 is a big character with his long range d/f+2 being his standard launcher.
- Beginner combo - d/f+2, 1+2 Screw! ff+1+2,2. Easy.
- Advanced combo - d/f+2, d/f+3,2 Screw! dash in f+4, b+3,2,2.
- Simple input at first but Jack has a ff+4 attack which you don't want here. You want to dash up to the opponent and then briefly stop after the tailspin. From there quickly input the f+4.
- Beginner wall combo - You can use ff+1+2,2 again here for easy damage.
- Wall combo #2 - b+3,2, d/f+3+4 (shoulder.) Just like the b+3,2,2 move earlier but stop after the second hit. Then input diagonal down foward and push both 3 and 4 for the shoulder barge. This grants really big combo damage at the wall.
▌Nobi's Beginner Guide - Lucky Chloe
 ̄  ̄  ̄  ̄  ̄  ̄  ̄  ̄  ̄  ̄  ̄  ̄  ̄  ̄  ̄  ̄  ̄  ̄  ̄  ̄  ̄  ̄  ̄  ̄  ̄  ̄  ̄  ̄
Video URL ≫ https://www.openrec.tv/movie/WaHjmdUDWaf
- Lucky Chloe's standard launchers are u/f+3 hopkick and d/f+2 upper.
- Beginner combo - u/f+3, d/f+1, 1,2,1+2 Screw! d/f+3+4,3.
- Advanced combo - d/f+2, d/f+1, d/f+2,4,3,1 Screw! d/f+3+4,3.
- The d/f+2,4,3,1 part of that combo has a specific timing for each button press which you'll have to practice to get the hang off.
- Or, you can use the Nobi technique shown in the video which is to mash all 4 buttons repeatedly after the d/f+2.
- Wall combo - d/f+3+4,3. This is reliable as both a combo ender and wall damage ender.
- Advanced wall combo - 1 Jab, d/f+1, 3,4. For even greater wall combo damage.

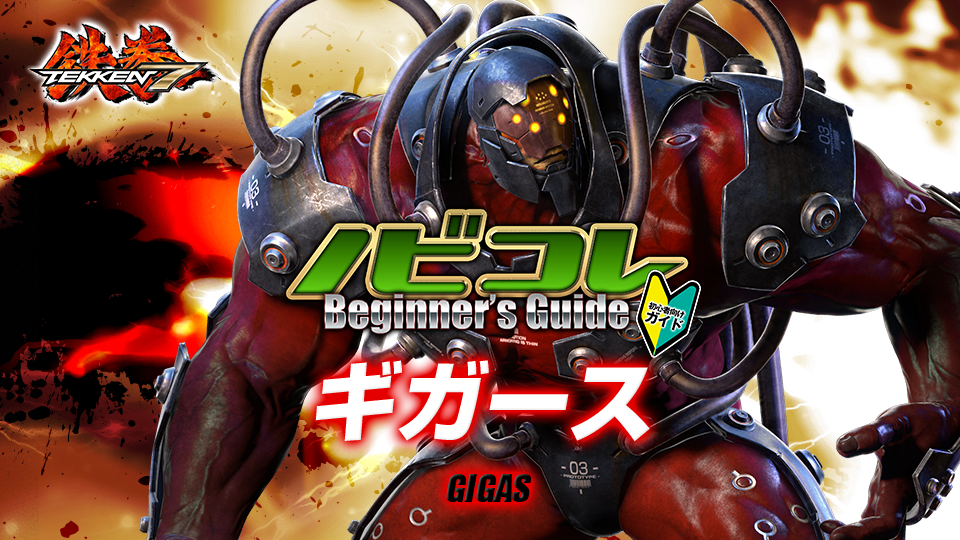
▌Nobi's Beginner Guide - Gigas
 ̄  ̄  ̄  ̄  ̄  ̄  ̄  ̄  ̄  ̄  ̄  ̄  ̄  ̄  ̄  ̄  ̄  ̄  ̄  ̄  ̄  ̄  ̄  ̄  ̄  ̄  ̄  ̄
Video URL ≫ https://www.openrec.tv/movie/vM69I3yfuLG
- Large hulking dangerous looking character with d+2 (Sledgehammer) as his standard launcher. Compared to other characters, Gigas has simpler combos.
- Beginner combo - d+2, u/f+1+2, 2. (FDFA leg swipe)
- This is all an easy combo for new players to use and is recommended. It all works and looks funny too. The body splash (u/f+1+2) will leave Gigas Face Down Feet Away for the final 2 swipe.
- Advanced combo - d+2, f+2,f+1 Screw! dash in u/f+3, d/f+3,1+2,1+2. This combo too also has simple inputs to perform. Despite Nobi dropping it in the video.
- Wall combo - d/f+1+2,1+2. Reliable damage at the wall and recommended move to use in certain other situations too.
- Advanced wall combo - 1 jab, d/f+4,1+2. (Headbutt) - Much more damaging move for combos at the wall but can't be used for every wallsplat situation.
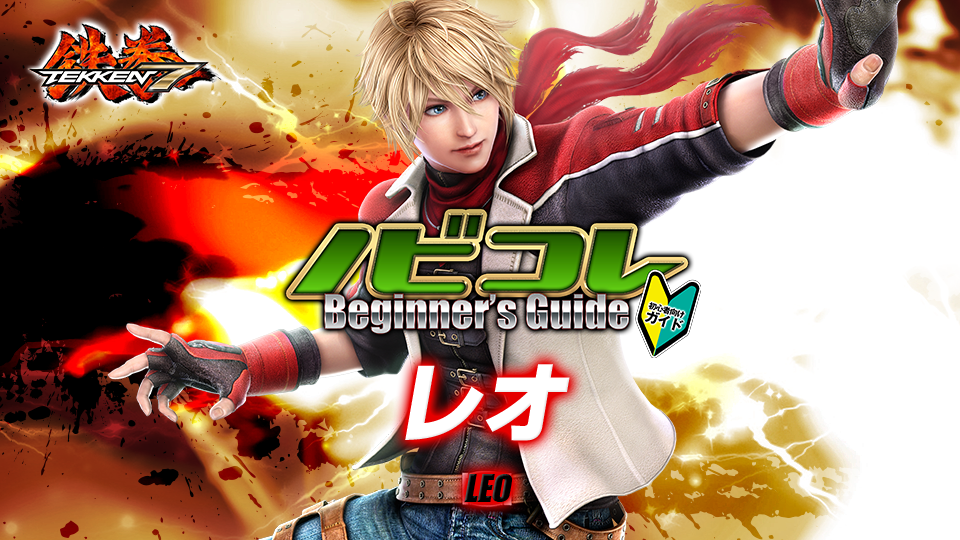
▌Nobi's Beginner Guide - Leo Kliesen
 ̄  ̄  ̄  ̄  ̄  ̄  ̄  ̄  ̄  ̄  ̄  ̄  ̄  ̄  ̄  ̄  ̄  ̄  ̄  ̄  ̄  ̄  ̄  ̄  ̄  ̄  ̄  ̄
Video URL ≫ https://www.openrec.tv/movie/EwqlpYRNRHL
- Leo has both the standard u/f+4 hopkick and d/f+2 uppercut launch.
- Beginner combo - d/f+2, b+1,4 KNK 2 Screw! ff+2.
- The combo is really easy to perform and is recommended for beginners to use. b+1,4 will automatically put you into Leo's Kinkei stance for the 2 attack screw.
- Advanced combo - d/f+2, f+2, b+1,4 KNK 2 Screw! dash in f+4~d/f, ws+3,1,2. For greater damage.
- The only difficult bit here of note is the dash in after the screw attack and connecting with the f+4 into the forward crouch dash. From here, input the 3,1,2 for the combo finisher.
- Wall combo - b+1,4 KNK 3,4. This is an easy wall combo and does a grip of damage compared to other characters.
- Advanced wall combo - b+1,4~d/f, ws+1+2. Slightly more difficult to land but more damaging then the last, you can choose to go with the finishing shoulder for big damage.

Reader Comments (8)
casaveng e3d3fd1842 https://stinger.live/quisenheartle
casaveng e3d3fd1842 https://stinger.live/quisenheartle
casaveng e3d3fd1842 https://stinger.live/quisenheartle
martali d4f391380b https://cdn.thingiverse.com/assets/3b/bb/98/60/50/AutoCADLT2011xforce2010x32exeiso.html
martali d4f391380b https://cdn.thingiverse.com/assets/3b/bb/98/60/50/AutoCADLT2011xforce2010x32exeiso.html
martali d4f391380b https://cdn.thingiverse.com/assets/3b/bb/98/60/50/AutoCADLT2011xforce2010x32exeiso.html
martali d4f391380b https://cdn.thingiverse.com/assets/3b/bb/98/60/50/AutoCADLT2011xforce2010x32exeiso.html
martali d4f391380b https://cdn.thingiverse.com/assets/3b/bb/98/60/50/AutoCADLT2011xforce2010x32exeiso.html